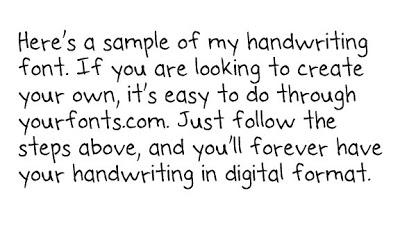
After working with countless varieties of handwriting fonts throughout the years, I decided it was time to create my own –
A quick Google search led me to yourfonts.com. I settled on this font generator, because it seemed easy to use and provided lots of reviews from satisfied customers. In seven short steps, I had my very own handwriting font!
- Print Template. To get started, I downloaded and printed out their letter template.
- Complete Template. They provided adequate instructions on how to draw each letter/character into the designated cells.
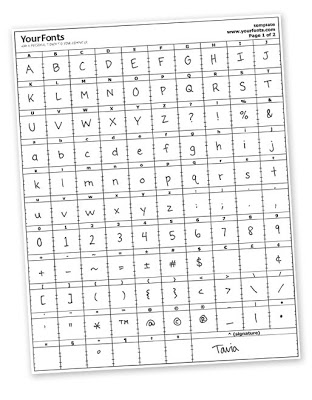 Scan & Save Template. After I had drawn all the characters I wanted to include in my font, I scanned the template at a high resolution and saved it to my desktop.
- Upload Template. I found this section easy to navigate. I also named my font (Tavia Print) in this step.
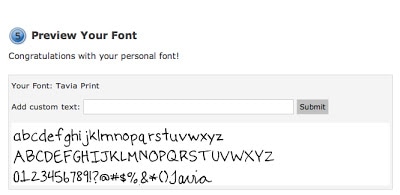
- Preview Your Font. This part was nice, because I was able to see all of my characters next to each other. If I wasn’t happy with any of them, I could start the process over. I could also key in custom text to see the font in use when typing.
 Download. For just $9.95, my personal font was sent to my email where I could download it.
- Install and Use. I imported the font into my font manager and was ready to go!
Overall, I am satisfied with the outcome. The process went quickly, and I am excited to use my new personalized font. There was an option to include a second template with more characters for $14.95, but I found the one template to be sufficient for my use.